Photographing Guns:
Taking good pictures of guns
This has proved to be quite a challenge for me while creating,editing and maintaining my various websites. I spend hours upon hours taking and retaking pictures and then editing and touching them up in Adobe Photoshop CS4. Still after all that work, my pictures are mediocre at best.
My goal on this page is not to turn myself or you the reader of this page into a professional photographer but rather to journey down the path of quality gun pictures. The pictures where the roll marks are sharp and clear, no unwanted glare and the depth perception and composition are to our liking. Who knows, maybe by the time this page is done we will be able to take decent pictures of anything.
November 2, 2010: Theres been a few changes in my setup and with that look for the content below to be updated as well
Photography Equipment - Cameras
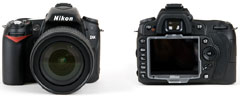
DSLR:It's quite common and easy to have the expectation that if you buy a DSLR, $1000 digital camera body and a $700 lens from Nikon or Canon and set the camera's controls to automatic that your pictures will all be great. That is just not the case much of the time. When you buy a DSLR you are buying versatility and longevity. DSLR's have a tremendous depth to their controls and require a commitment from the operator to understand these control and how they interact with each other. That understanding along with practice is how you achieve those stunning pictures that your fellow shooter will drool over. If you aren't committed to understanding or just don't have the time to devote to a DSLR buy a point and shoot camera and use the money you saved to buy a case off ammo.
DSLR Pros
- Versatility
- Durability
- Quality
- Image Quality
DSLR Cons
- Complexity
- Cost
- Size
- Weight
Point & Shoot Camera: Just as the name implies a typical point and shoot camera is designed for the person who wants to take pretty good pictures without having to understand photographic principles and theory in depth. Point and shoot cameras typically have controls where you select a "scene" that resembles the pictures you are planning to take. Typically there's very few in depth settings other then maybe white balance and image file type, size and quality. Point and shoot cameras may lack the control of the DSLR's but make no mistake today's point and shoot cameras can take pretty darn good pictures. Daily I am impressed with the image quality my Canon Powershot SD870IS delivers with little effort.
Point & Shoot Pros
- Cost
- Size
- Weight
- Ease of Use
Point & Shoot Cons
- Lack of control
- Artistic control
- Image quality
- Durability
For this article I will be using both types of cameras to illustrate the best results I can obtain with both types of camera.
How hard can it be to take a great picture?
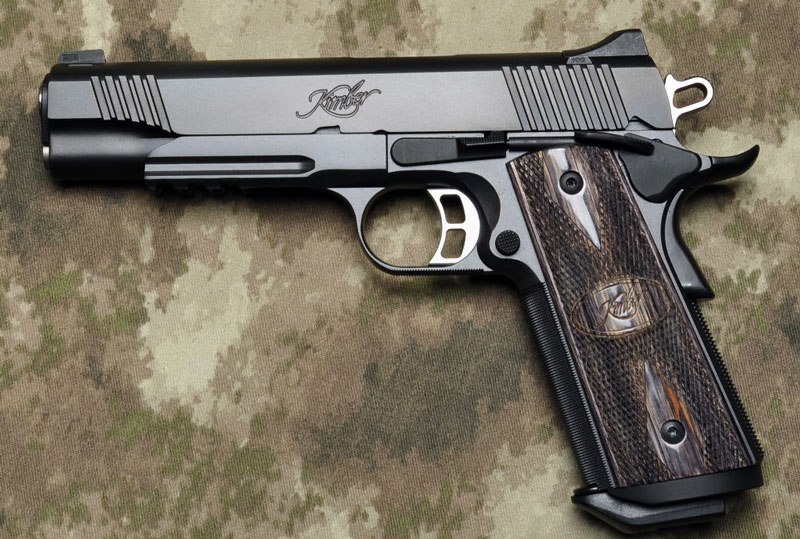
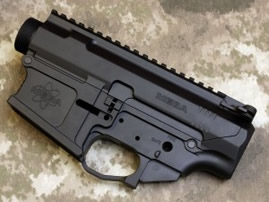
On the surface it seems like it would be a simple task to get a great picture of your favorite firearm right? how hard can it be? Just grab your favorite two tone Colt 1911 .45 place it on the kitchen table place some cartridges and a few magazines around and take the picture and upload it to your computer. Upon uploading it you notice a few things:
- Unwanted glare
- Incorrect color rendering
- Image not as sharp as you would expect
- The background is the sharpest part of the image and the image appears busy and cluttered.
- Roll marks and logo's are blurry
So what went wrong that delivered these less then desirable results?
- Poor lighting: Camera Flash - Lighting is the number one problem with obtaining the quality pictures we seek. Most likely the lighting inside your home is not adequate for a quality picture. In most cases this will cause the flash to fire. The flash will result in unwanted reflections on the shiny, reflective surfaces of the gun. Another side effect of using the flash is in most scenarios a lack of image sharpness. This is due to the fast shutter speed that the camera will set when utilizing the flash.
- Poor lighting: Ambient - The lighting in most homes, offices and workshops is not conducive to quality, color correct, sharp pictures. There is no substitute for sunshine.
- Autofocus - Autofocus is fine for candid and general point and shoot type pictures but rarely will focus to the sharpness we are seeking for our still images. Often times the camera is focusing something other then the object we are taking the picture of like whatever your gun is laying on. Other times it may focus on a single part or area of the gun your taking a picture of.
- Shutter release - Think of the shutter release as pulling the trigger on your gun. Control is everything. The better you can control the shutter release without disturbing the camera the sharper your pictures will be.
- Depth of field - Without controlling the depth of field there's a good chance all the objects in the picture will appear to be at the same focus. This means the table the gun is on will look just as sharp as everything else. It would be more desirable to to have the content of your image sharp and clear while the background remains slightly out of focus.
Photography Quick Fixes
Above I discussed some of the basic problems faced when photographing guns. Fortunately there's a few easy solutions that will bring your image quality up a few notches without spending much money.
- Lighting - Whenever possible utilize the best light known to man. The sun. Any time you can take your pictures outdoors your results will improve tremendously
- Shutter release - Use your cameras built in self timer. That's the function that acts like a count down timer and takes the picture automatically. A better option if supported by your camera would be a wired or better yet wireless remote.
- Tripod - Using the self timer or a remote in conjunction with a tripod is like putting a gun in a ransom rest. Your eliminating the human factor and all the camera movement he introduces.
- Autofocus - If your cameras controls permit manual focus choose that option
- Depth of field - Depth of field is controlled by your cameras Aperture Priority setting. This is typically only available on DSLR's. Consult your cameras owners manual.
Lighting
Mastering and understanding light are the key to taking good pictures. There is no magic camera or lens that will compensate for poor lighting. Because of this your first goal is to get a handle on the lighting you currently have available and what you can possibly do to improve it.There are several ways to achieve good lighting
Camera On Board Flash
The camera's flash while helpful at family get togethers and birthday parties can be a detriment to photographing guns. Very often the flash will create a visible bright spot on the gun ruining what could have been a great photo. We will address that further down in this article.
Sunlight
ipsum
Softboxes and Umbrellas
ipsum
Off Camera Flash
ipsum
Camera Focus
ipsum
Depth of Field
Depth of field is a term used to describe how much of an image is in focus. A large depth of field means a lot of the picture is in focus. A shallow depth of field means only the subject of the picture is in focus.
The depth of field is controlled by the lens aperture, described by its f-number. Smaller f-numbers (f/1.8 for example) mean shallower depths of field; larger f-numbers (f/8 for example) mean larger depths of field.
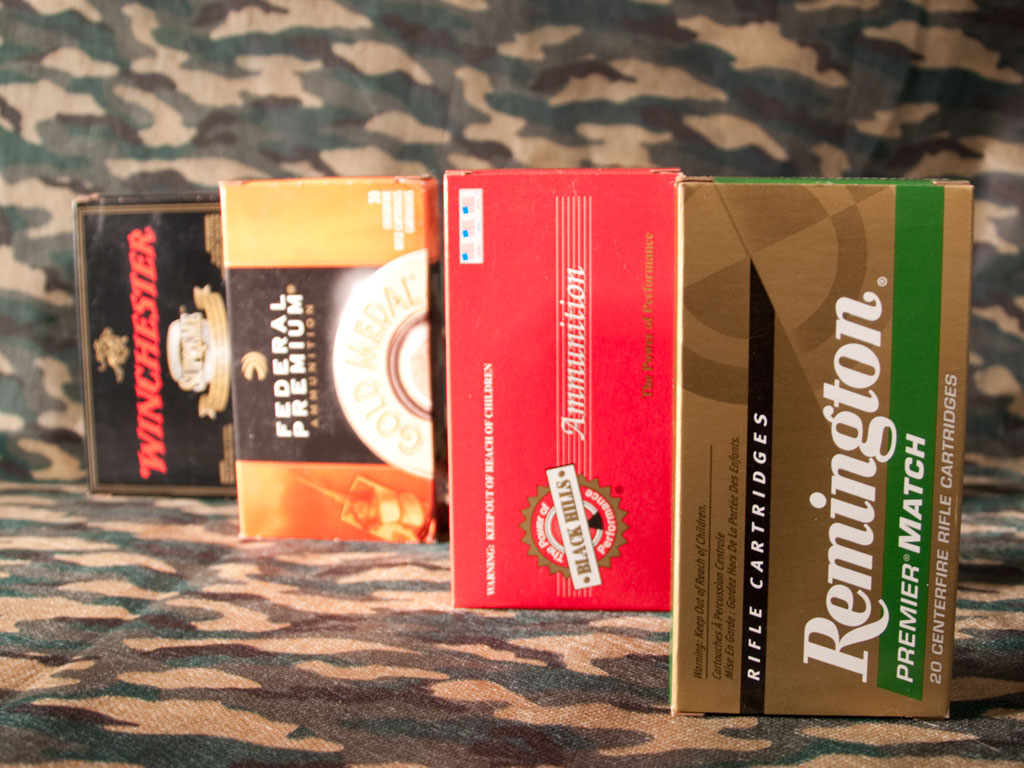
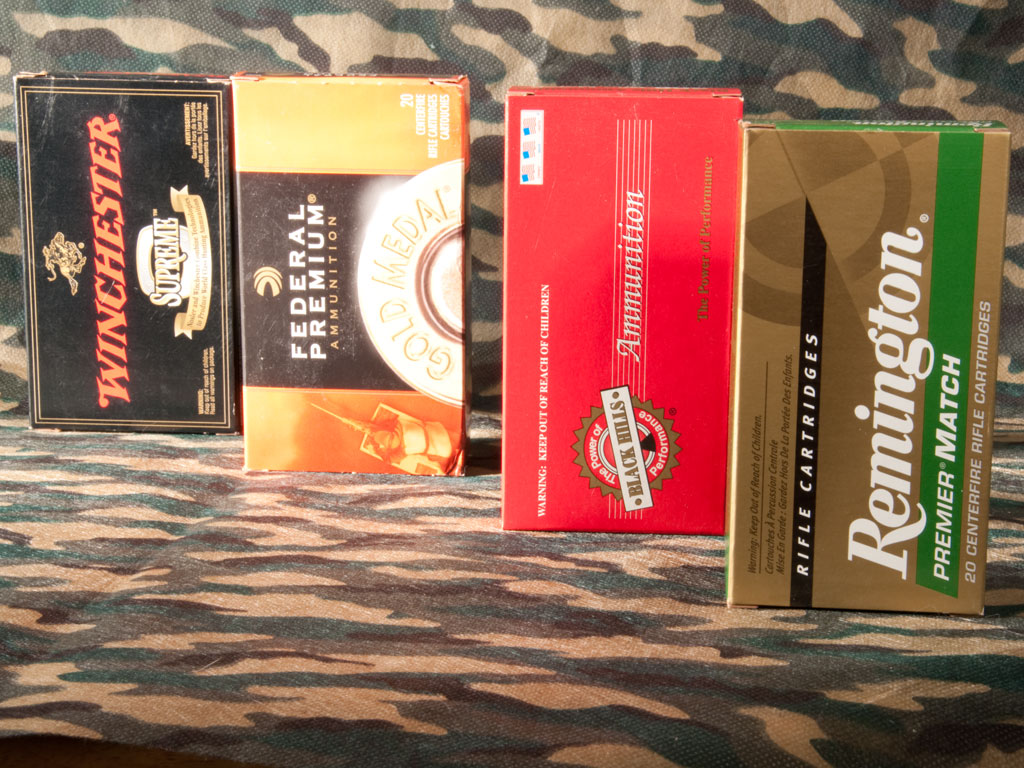
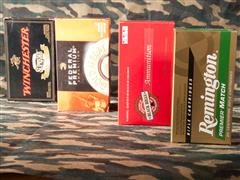
Below are some examples to help visualize what I'm talking about. The first two pictures are taken with the lens at 18mm (shortest length). The only setting I selected besides the focal length was the F-stop. The picture on the left is F3.5 while the image on the right is F11. The camera selected ISO 200 and shutter speeds of 1/20 and .4 seconds respectively.
Click the images to view them full size.
Left Picture F3.5 Shallow Depth of Field: Notice the Remington box is well focused . As you look at the other boxes you will notice the focus gets worse the closer the boxes are to the camo back drop. The back drop is pretty out of focus. The effect gives the subject in this case the Remington box the ability to pop out at you.
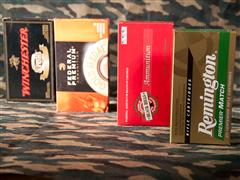
Right Picture F11 Large Depth of Field: In this picture all the boxes and the camo back drop or at a pretty equal focus.
 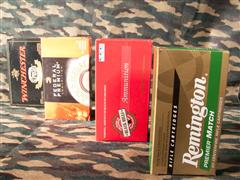
The next two pictures were taken at a 45mm focal length. The picture on the left was taken with an F-stop of F4.8 and the picture on the right is with a F-stop of F32. The camera automatically selected ISO 200 and shutter speeds of 1/13 and 2.5 seconds respectively. The same scenario as above plays out once again.
Note: At a later date Ill update these images to a higher quality.
Composition
Lets take quality pictures first.
My Camera Equipment
This section is going to list all the hardware and software I use in my photography tasks. Naturally not all is used for this article. When possible I will provide links to where I purchased the items at the cheapest price .
The following list is by no means a must have list, its just what I have available to me. In many situations I will attempt to take the same pictures with the low cost set up as well as the high end equipment and let the results speak for themselves.
Cameras & lenses
- Canon EOS 60D
- Canon EF 50mm f/1.8 II Camera Lens
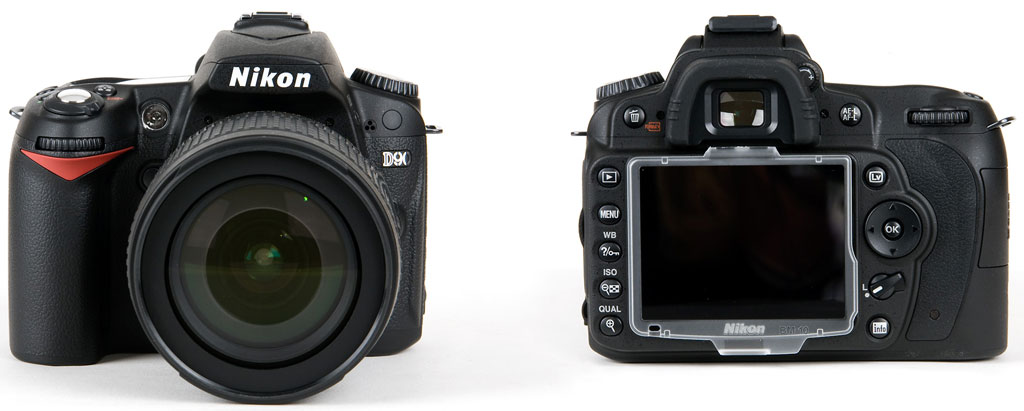
- Nikon D7000
- Nikon D90 DSLR
- Nikon 18-105mm f/3.5-5.6G ED AF-S VR DX Nikkor Zoom Lens
- Nikon 67mm Neutral Color Filter (Lens Protector)
- Canon Powershot SD870IS
- Nikon D70
- Nikon MB-80
Memory Cards
- SanDisk 4GB Extreme III - SDHC Class 6 High Performance Memory Card SDSDX3-004G-P31 30MB/s
- SanDisk 4GB Extreme III - SDHC Class 6 Flash Memory Card SDSDRX3-4096-A21 20MB/s
- Eye-Fi Pro X2
Tripod
- Velbon Tripod
- Manfrotto 055XPROB Tripod Legs
- Manfrotto 460MG 3D Magnesium Head with Quick Release (QR Plate 3157N)
Camera Remote Controls
Camera Cases
A small note on cases. Rather then purchase typical photographic gear cases and bags I purchase camo miltary equipment bags which lets them serve as props for photos as well as gear storage.
- Lowepro Slingshot 200 All Weather Backpack
Camera Software
- Nikon Camera Control Pro 2
- Adobe Photoshop CS4
Lighting
- Lowel Tota
- Brooder Lights
- Digital Concepts Ps-101 Portable Lighting Studio Softbox
- JTL SL-500 Everlight Softbox Kit #91504
- JTL SL-500 Everlight Kit, Single Head, 500 Watt Quartz Halogen Umbrella Kit #91503
- Photoflex 30" Adjustable Hot Silver Umbrella
Miscellaneous Equipment
- ACU Camouflage Material
- Urban Digital Camouflage Fabric
- 6-Color Desert Camouflage Fabric
Gun Pictures and Settings
Until I can get back to this do the following or as much as your camera will allow.
- Aperture Priority
- f11
- ISO 100- ISO 200
- Use a tripod and remote shutter or built in timer
- White Balance - Match your setting to the conditions. Almost all cameras WB settings beyond auto. They usually have an icon depicting your available options such as clouds,sun, inacandescent, florescent etc

Contact us for more info |